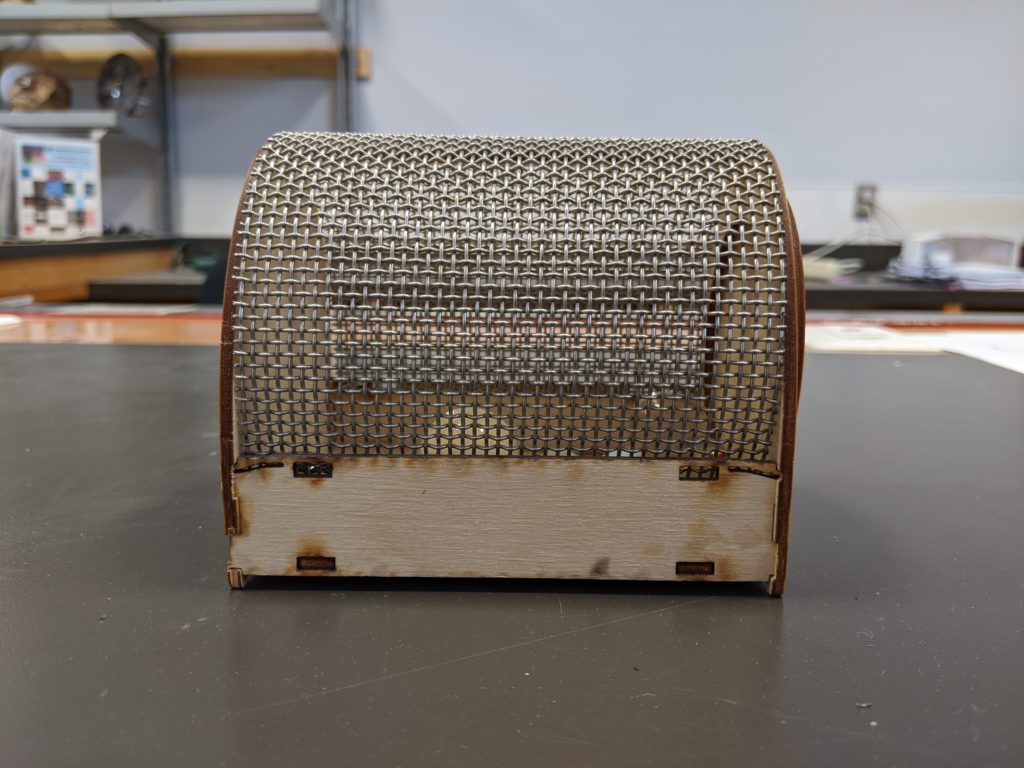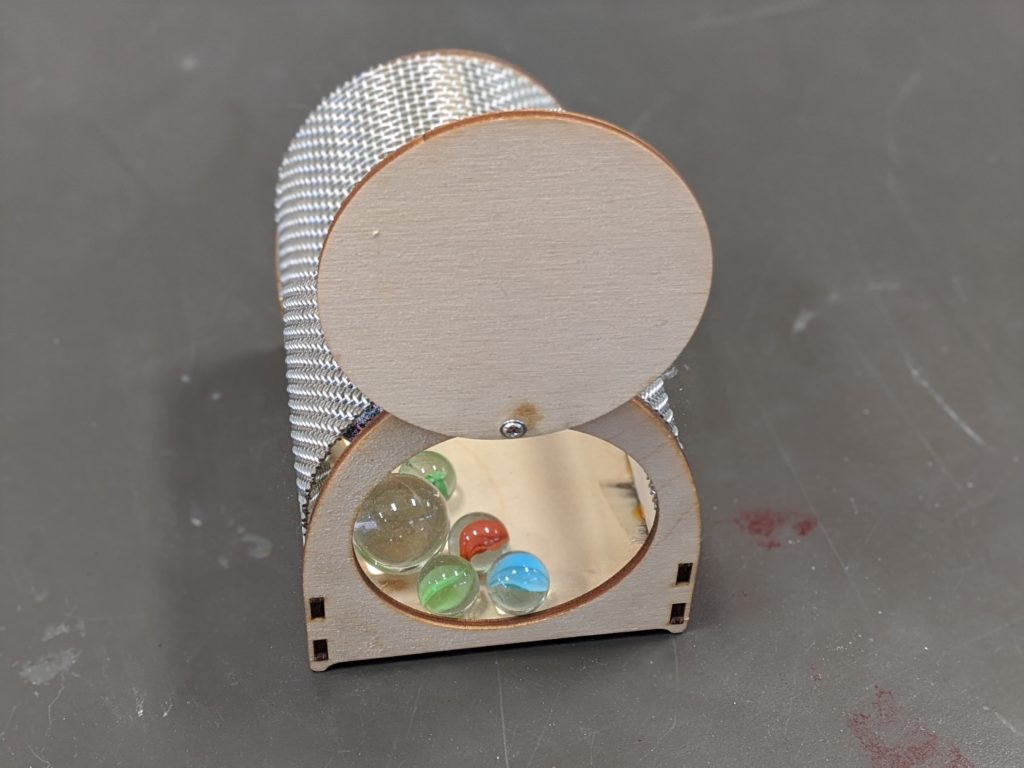
DIY Bug Box: An Inside Look at Anchorage Makerspace
Even in quarantine, Makers are bustling to put together new ideas for projects and future events for the Makerspace. If you’d like to know more about what’s upcoming (virtually) for the Makerspace, please reach out to us here.
Introduction
No matter the skill level of a Maker, they are welcomed at Anchorage Makerspace.
If you are interested in developing a skill set that seems unattainable—there are makers willing and ready to teach. Outside of classes and Open Houses, Mike Moberly found himself knee-deep in ideas for even the simplest of projects: A bug box for his daughter.

Getting Started
When Mike first joined the Anchorage Makerspace as a member, he found himself in the shop all the time.
It’s natural for any new member to be on overdrive with ideas for projects, collaborations, and the endless possibilities that the Makerspace provides. Due to safety regulations, though, new members without experience using our various tools and machines are asked to pair with another member for some time to get their hands dirty.
Mike spent lots of time in the shop getting to know the machines—he learned all about the laser cutter’s capabilities, the capacity of the 3D printers, and where the boundaries really were. (There aren’t many.)
The Idea
If there’s one thing to know about idea generation, it’s this:
Inspiration always comes when you least expect it.
Your brain is a wonderfully weird system, and the dots seemingly connect out of nowhere; for Mike, he found inspiration in fatherhood.
“My daughter’s kindergarten class was studying bugs. We had a commercially made cricket container that was small and plastic, and I just thought, ‘Man, I could do that!’”
With the inspiration on his side, Mike immediately started planning. But there were many problems he encountered right away: Sure, he could make it by hand, but how was he going to cut evenly? Even if he could cut evenly, how many would he realistically be able to make? Most importantly, these were for kindergarteners, how could he make the cricket container safe?
He was in need of someone or something that could cut consistently, and a design that wouldn’t require hammers, nails, scissors, or even glue—in kindergarten, completely innocent projects end up a mess somehow.
Then, it stuck. The answer was so obvious: The laser cutter at the Makerspace!
Reaching Out
Happy to have a path forward, Mike quickly got to the Makerspace. The how was covered, but he still needed to figure out the most vital part of the project: the what.
Again, the Makerspace pulled through for him.
When new members sign up for the Makerspace, they get access to an exclusive Slack workspace, where they’re able to ask all kinds of questions about the Makerspace, help with a project, or specific tools amongst the space.
Knowing he was going to need help, Mike reached out.
Quickly, he was offered a variety of ideas, options, and routes to approach the project.
“Once I asked a few different people and knew what I was getting going, everybody had a little tweak that made it so much better and easier.”

Steven helped him find an existing file for a box he used previously to house Raspberry Pis. Corny spent time with Mike on Inkscape and Corel modifying the design to fit his developing ideas. Karen used her graphic design knowledge to help with modifications even further.
All along the way, Mike continued talking with Makerspace members to find materials including the wood, fixtures, and stainless steel screen.
“It was fun [to do], and [the project] was doable because someone was [always] here to help me along.”
The Process
It took Mike only 5 hours total to get from his initial idea to having a first draft of his box.
As with any original creative project, the process from first draft to final draft was tedious.
The first prints didn’t go very well at all. The alignment was off, the dimensions weren’t completely equal, and so the box wouldn’t even fit together. This is all part of the process.
In fact, it took Mike 6-8 drafts to make sure things would print correctly and ensure the dimensions lined up—really, it was print, tweak, print, tweak.
Yet after every single print he was one step closer to his design, and that much more closer to having a functional prototype in his hands. He wouldn’t give up yet.
When the first successful print happened, when he put together all the pieces—anticipating one more thing needing to be tweaked, one point just slightly off—they fit. He relished in the moment, and quickly went to print 50 more.
“Putting it together with the kids [was the best part of this process.]. With the plan as I started it, I probably would’ve been building them all by myself, and that just would’ve been no fun.”

Conclusion
Anchorage Makerspace is not solely for seasoned Makers. Industry professionals are welcomed and integrated in various avenues amongst the Makerspace, but with no one to teach skills to, the Makerspace community wouldn’t be nearly as lively.
No matter the idea, project, or person willing to execute it, the Makerspace is a collaborative environment to develop ideas, learn new skills, and create long-lasting experiences.
“To not only create the thing that was fun and odd; we used our bug cage outside of class as well—we even housed a gecko in it for half a day in Hawaii.”
Recent Comments